How to Create an E-Signature (Handwritten Signature Maker)
In the previous blog, we explained in detail how to use Type Signature Generator to create an electronic signature. Although it is simple and easy to use, it has many limitations for those who purely want to design their own signature all by themselves. A Handwritten Signature Maker is a great way to remedy this problem. It allows you to create a natural-looking e-signature that is both unique and visually appealing. This guide will walk you through creating the perfect handwritten e-signature using our Handwritten Signature Maker.
The Value of Handwritten E-Signatures
While typed signatures offer convenience, handwritten signatures provide several unique benefits:
- Personal Touch: They maintain the personal element of traditional signatures
- Uniqueness: Each handwritten signature has distinctive characteristics that are difficult to replicate
- Familiarity: They closely resemble the signatures people have used throughout their lives
- Visual Impact: A handwritten signature often creates a stronger visual impression than typed text
Getting Started with Handwritten Signature Maker
Step 1: Access the Handwritten Signature Maker
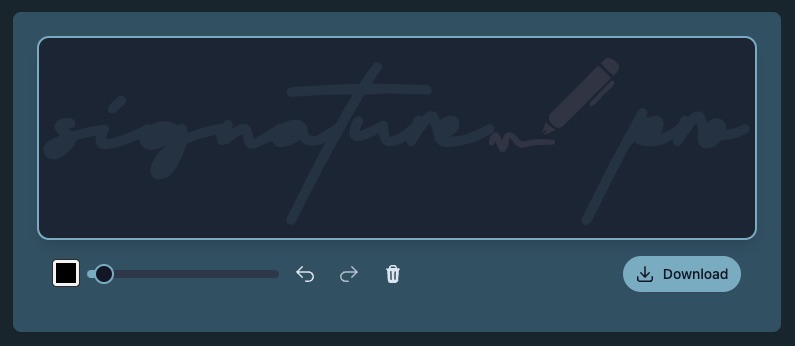
Navigate to our Handwritten Signature Maker on the Signature Generator Pro website. The interface is designed to be intuitive and user-friendly, making the signature creation process simple regardless of your technical skill level.
Step 2: Prepare Your Drawing Space
Before you begin drawing, take a moment to:
- Position your device comfortably
- Ensure you have enough space to move your hand freely
- Adjust your screen brightness for optimal visibility
- Consider using a stylus if available (though not required)
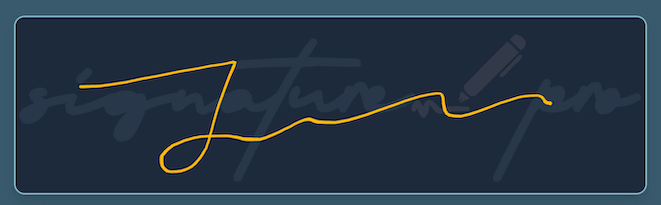
Step 3: Draw Your Signature
Using your mouse, trackpad, touchscreen, or stylus, draw your signature in the designated canvas area. Don't worry about getting it perfect on the first try—you can clear and redraw as many times as needed.
Tips for Drawing with Different Devices:
Mouse or Trackpad:
- Draw slowly and deliberately
- Use short, controlled movements
- Focus on the overall shape rather than fine details
Touchscreen or Tablet:
- Use your finger or a stylus for more natural results
- Apply consistent pressure for uniform line thickness
- Draw at a comfortable speed—not too fast, not too slow
Stylus:
- Hold the stylus as you would a pen
- Rest your hand on the screen if your device supports palm rejection
- Vary pressure slightly to create natural-looking line variations
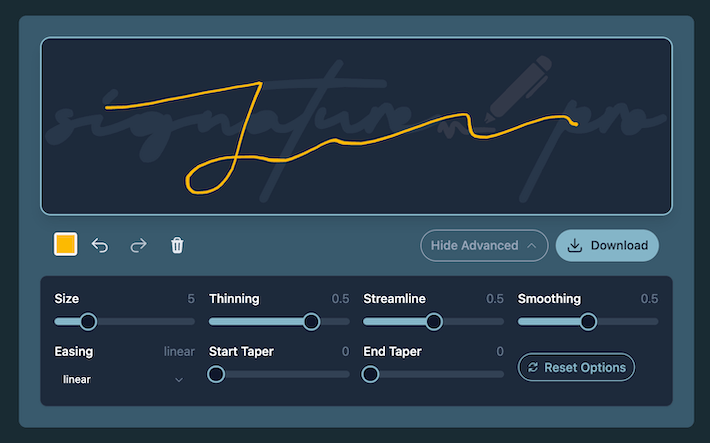
Step 4: Preview & Customize Your Signature
After drawing your signature, you can enhance and refine it with various customization options:
- Line Thickness: Adjust the stroke width to match your preferred signature style
- Smoothing: Apply smoothing effects to eliminate shakiness and create cleaner lines
- Color: Choose a color that suits your personal style or matches your brand identity
- Size: Resize your signature to fit different document requirements
- Rotation: Adjust the angle for a more natural appearance
Step 5: Download Your Signature
Once you're satisfied with your handwritten signature:
- Download: Tap the "Download" button to save your signature as a transparent PNG file
Your signature will be saved with a transparent background, allowing it to blend seamlessly with any document.
Advanced Techniques for Natural-Looking Signatures
Capturing Your Authentic Style
The most effective e-signatures reflect your actual handwriting style. Consider these techniques:
- Practice First: Before drawing on the screen, practice your signature on paper a few times to warm up
- Focus on Flow: Aim for fluid, continuous movements rather than disconnected strokes
- Incorporate Unique Elements: Include distinctive flourishes or characteristics that make your signature recognizable
- Maintain Proportions: Keep the relative size of letters consistent with your natural handwriting
Creating Multiple Variations
Different situations may call for different signature styles:
- Formal Signature: A complete, more detailed version for important documents
- Quick Signature: A simplified version for frequent, less formal use
- Initials: A compact version for initialing multiple pages
Common Challenges and Solutions
Challenge: Shaky Lines
Solution: Use the smoothing feature to eliminate tremors and create cleaner lines. Alternatively, try drawing more slowly or supporting your drawing hand with your other hand.
Challenge: Inconsistent Size
Solution: Use the size adjustment tools to ensure your signature fits appropriately within documents. Consider using document guidelines as reference points.
Challenge: Difficulty Drawing with a Mouse
Solution: If available, switch to a touchscreen device or tablet. Alternatively, try drawing larger than needed and then reducing the size, which can help hide minor imperfections.
Challenge: Signature Looks Different from Paper Version
Solution: This is normal when transitioning to digital signing. Practice several times, focusing on capturing the essential elements of your signature rather than creating an exact replica.
Privacy and Security Considerations
Our Handwritten Signature Maker prioritizes your privacy:
- Your signature is processed locally in your browser
- We do not store your signature on our servers
- No account creation or personal information is required
However, we recommend taking additional precautions:
- Store your signature files securely
- Use different signature variations for different levels of document importance
- Consider adding date stamps or document references when signing important documents
Conclusion
Creating a personalized handwritten e-signature has never been easier than with our Handwritten Signature Maker. By following the steps and techniques outlined in this guide, you can create a signature that maintains the personal touch of traditional handwriting while enjoying all the conveniences of digital signing.
Ready to create your own handwritten e-signature? Get started now with our free Handwritten Signature Maker and bring a personal touch to your digital documents!